

In this second part of the tutorial, I would like to show you how to do some minor optimizations on the 3d mesh in Blender. In the end, your model will be ready to be imported into the Unity Game Engine.
If you take a closer look at the object you scanned in the first part, you will see that it is probably a bit crooked. Moreover it is open at the bottom of the base. This looks a bit strange, especially if the miniature falls over in the Tabletop Simulator.
To solve these issues we will load the OBJ file into a 3d program. Here we will align it correctly, straighten the bottom edge and close the base. I usually work in 3ds max, but for this tutorial I will try blender. These steps can actually be done in any 3d app.
If you want to contribute your model to the Infinity Mod, I will show you in a dedicated part how to combine the model with a new base.
- In case you haven’t scanned your model yet, have a look at the first part.
- If you want to skip this and just directly import whatever you scanned into the Tabletop Simulator, go to the third part.
Part II: Adjust the mesh in a 3D app
- II.I Import your scanned object
- II.II Align the model
- II.IIIa Optimize the base
- II.IIIb Optimize the base (Infinity mod only)
- II.IVa Export the finished model as fbx
A little warning first: I usually work in 3ds max. Since I use it professionally, I bought it once (when you could still buy it and not only rent it).
But for this tutorial, I will use blender, because you can get it for free. I am sure that more experienced blender users can do the things I show here much better. But I hope that I can still show you the whole thing halfway comprehensible.
II.I Import into blender
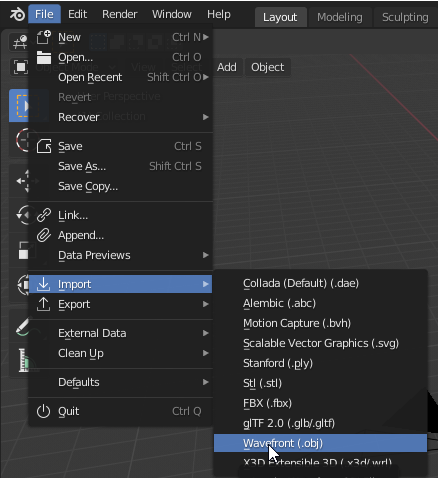
1a. Start blender and choose File > Import > Wavefront (.obj)
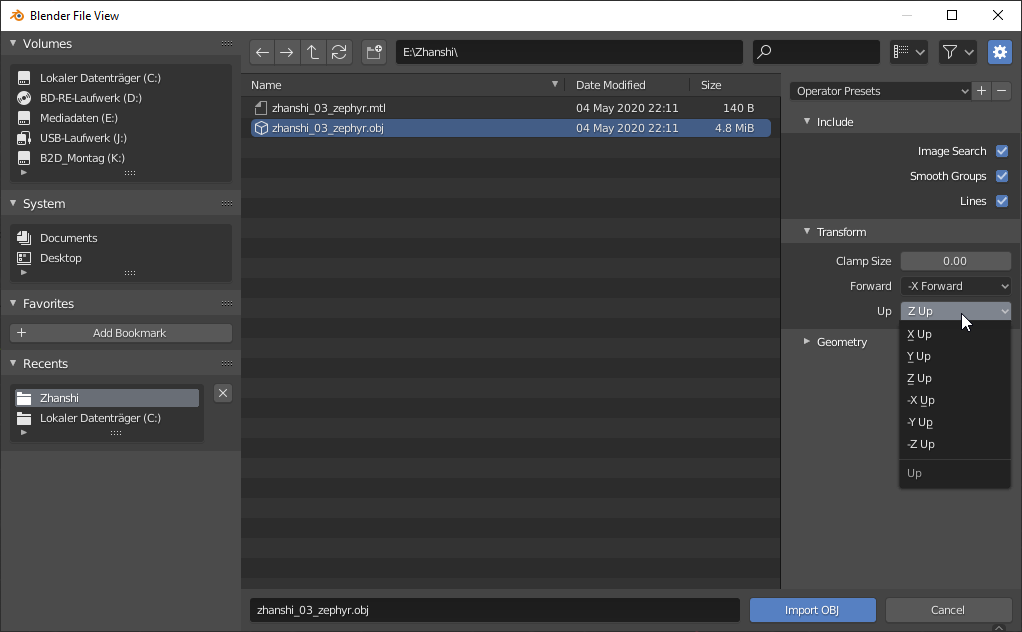
1b. Navigate to your obj file that you exported from 3DF Zephyr. Select „Z-up“ from the Transform menu on the right and hit „Import“
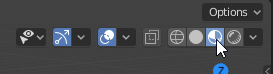
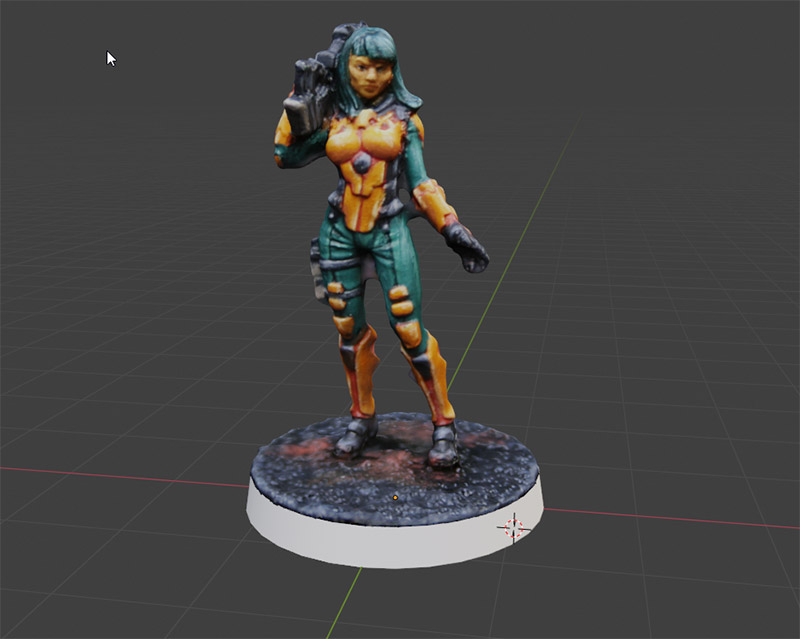
Your scanned model will appear in the viewport in white. To display the texture choose „Material Preview Mode“ in the upper right corner of the vieport:
II.II Align the model
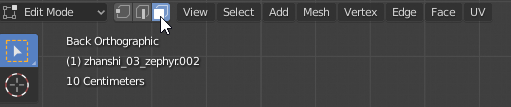
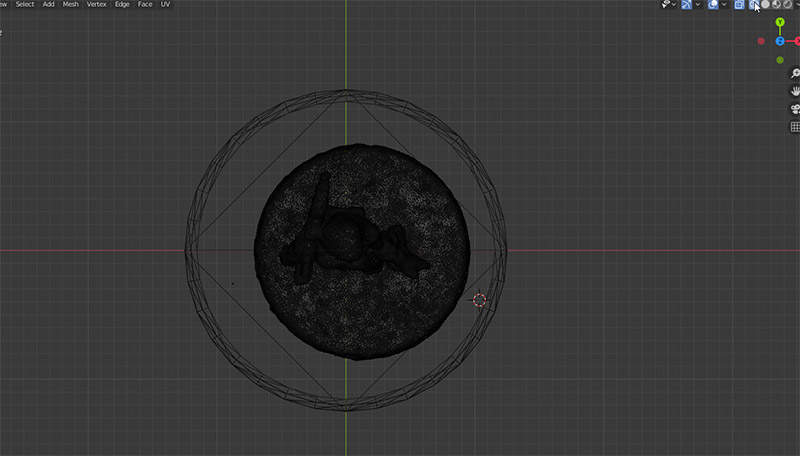
2a. Switch to an orthogonal side view by pressing x or y symbol to the upper right.

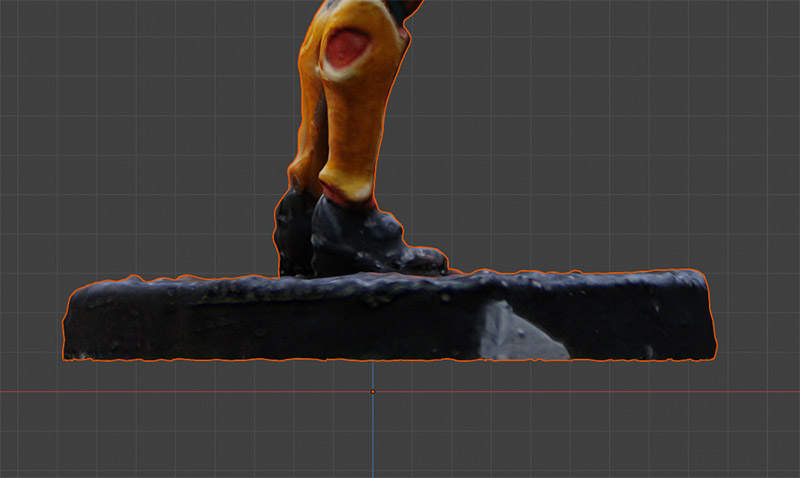
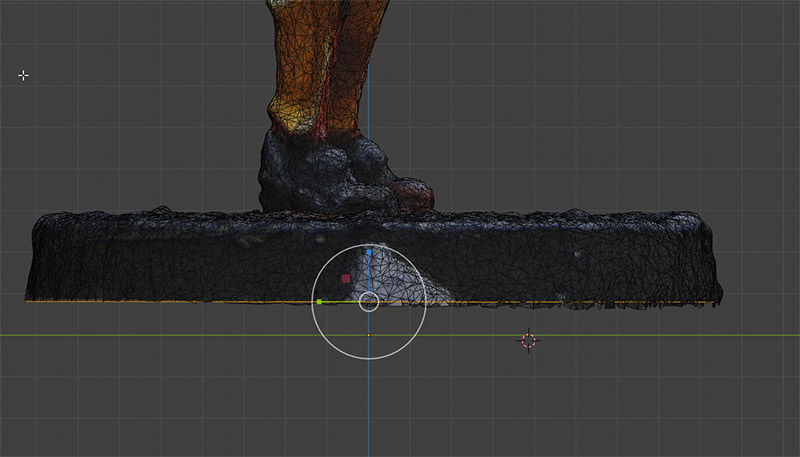
You can see the uneven edge on the base of the model and may notice that the model is inclined a bit. The top of the base seems to tilt to the left. We will therefore first straighten the object out.
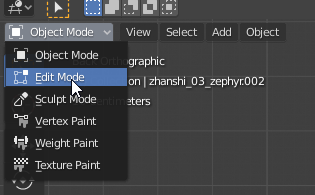
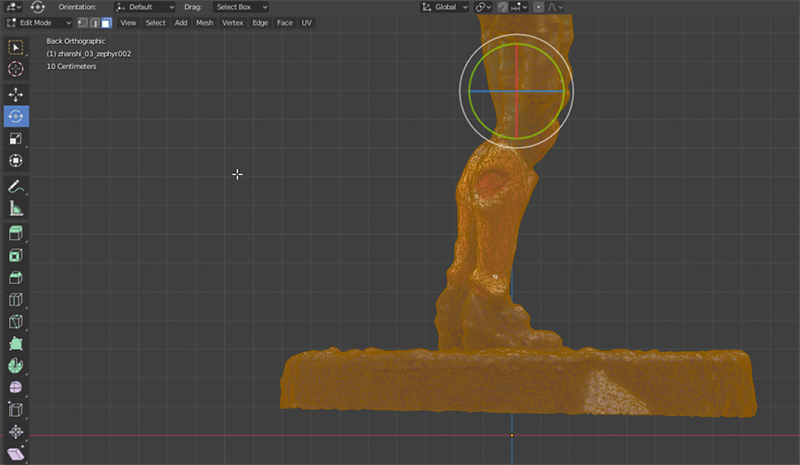
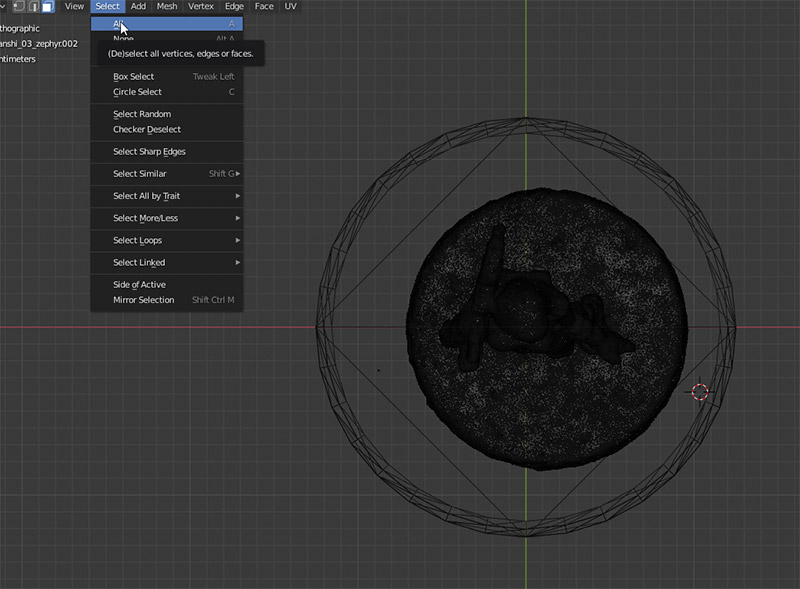
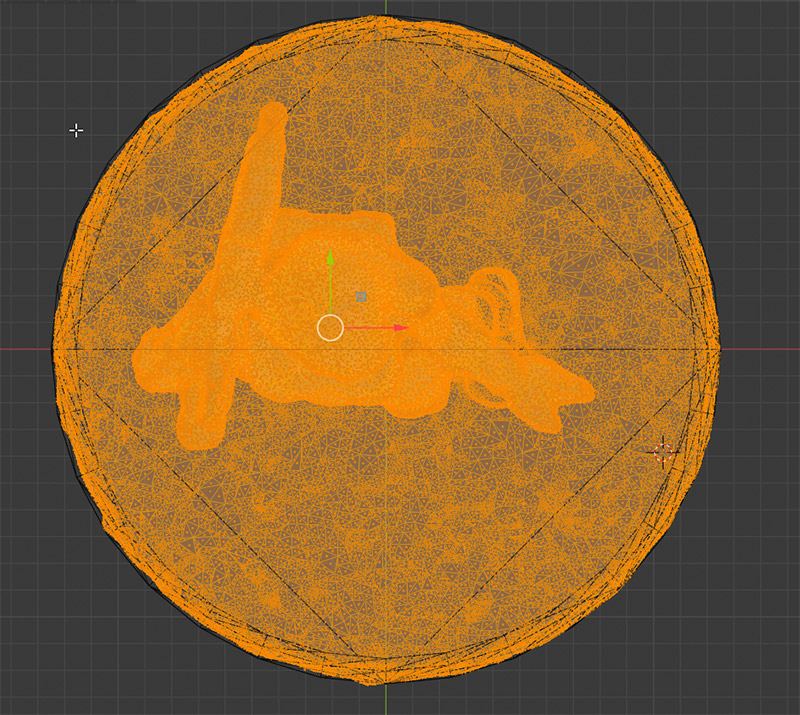
2b. Go into edit mode and activate „Face select“. Then choose „Select all“ from the Select menu next to it. In edit mode we can modify the mesh without touching the actual pivot or scale of the whole model.
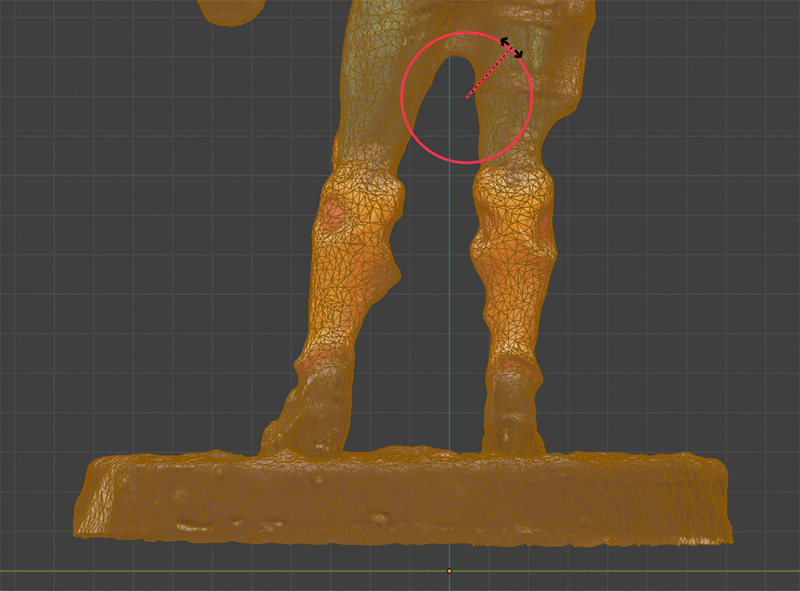
2c. Select the rotate tool from the toolbar to the left and rotate your model on the y-axis (green circle gizmo) to straighten it up. You can use the grid line as a guide.
2d. Switch to the front view repeat that step, this time rotate on the x-axis (red gizmo).
2e. Now switch to the top perspective and rotate it on the z-axis. Now your model should be properly aligned.

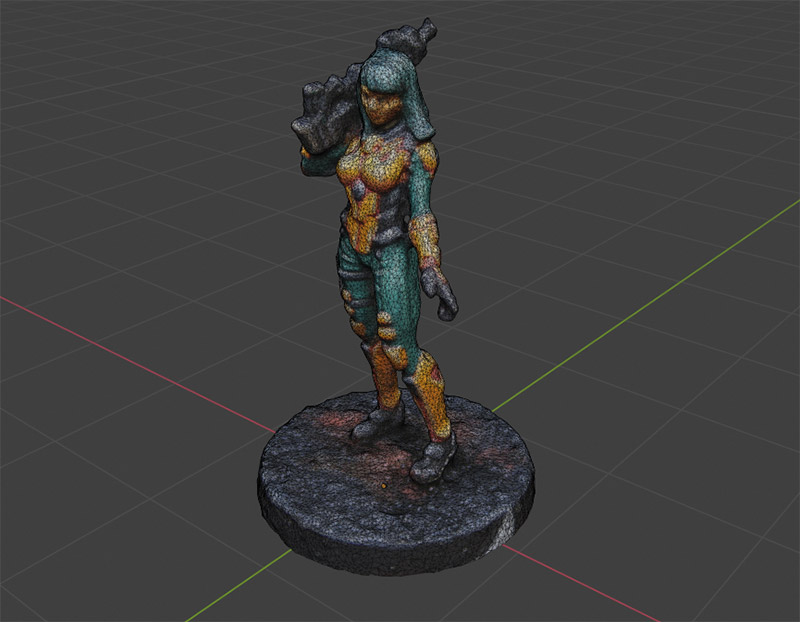
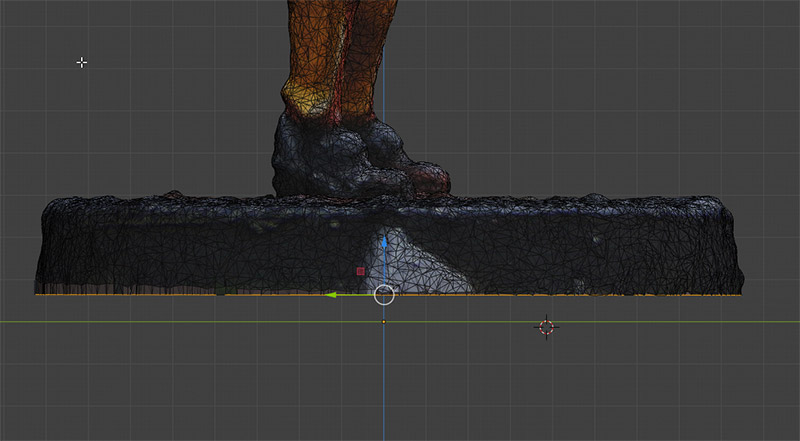
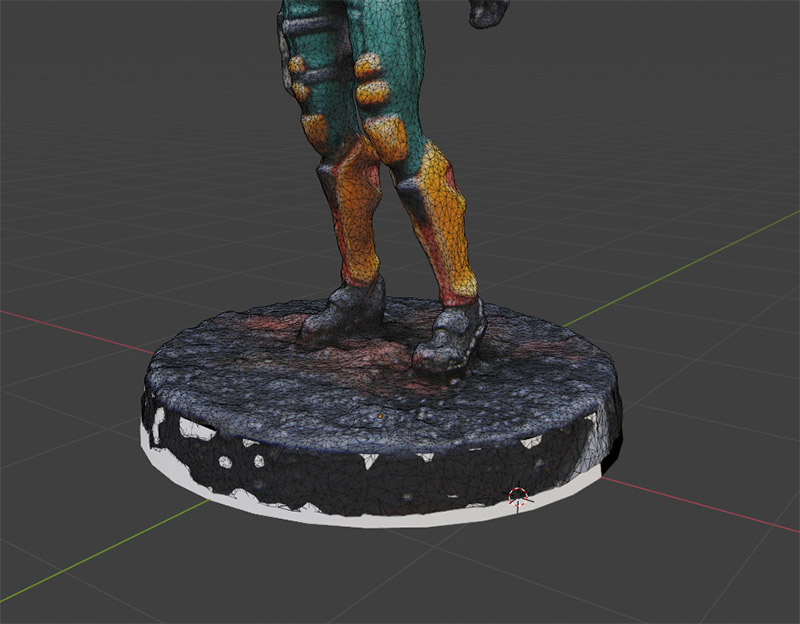
2f. Deselect the mesh and double check your result in the perspective view. Your result should look similar to this.
II.IIIa Optimize the base
If you want to contribute your model to the Infinity mod, head directly to the next part: II.IIIb
3a. Now we will straighten the lower edge of the base and close the mesh. Switch to an orthogonal front or side view and activate „Vertex select“. Select a random vertex and got to Select > Select Loops > Select Loop Inner-Region
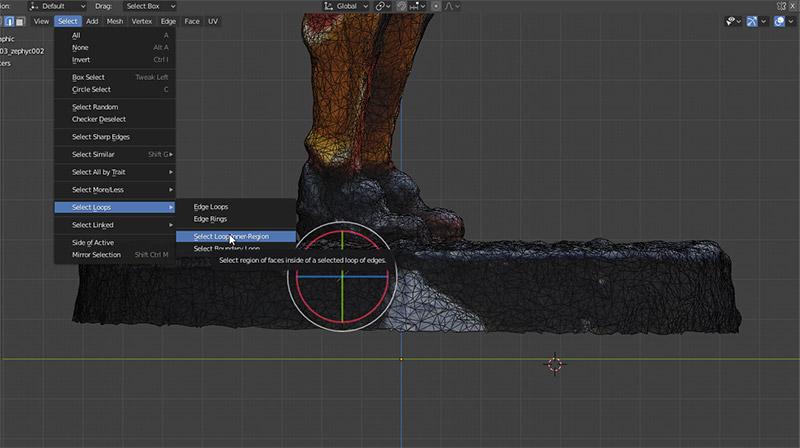
By the way, make sure that X-Ray mode is enabled. It enables you to select things that are on the back side of the model.

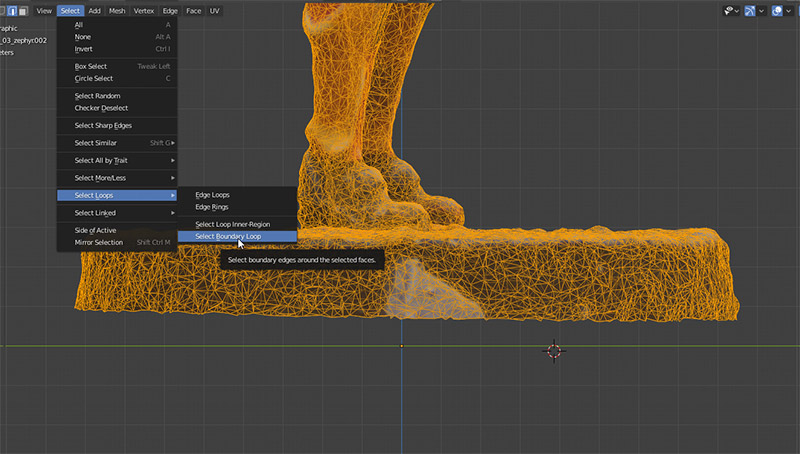
3b. Now your complete model should be selected. To limit the selection to only the border of the base, go to Select > Select Loops > Select Boundary Loop
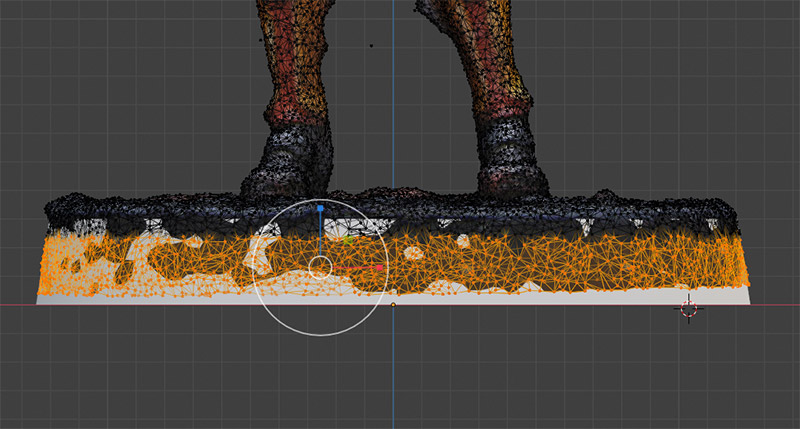
3c. Use the scale tool to flatten the selected edges and move it a bit down, so no other parts of the mesh are beneath it.
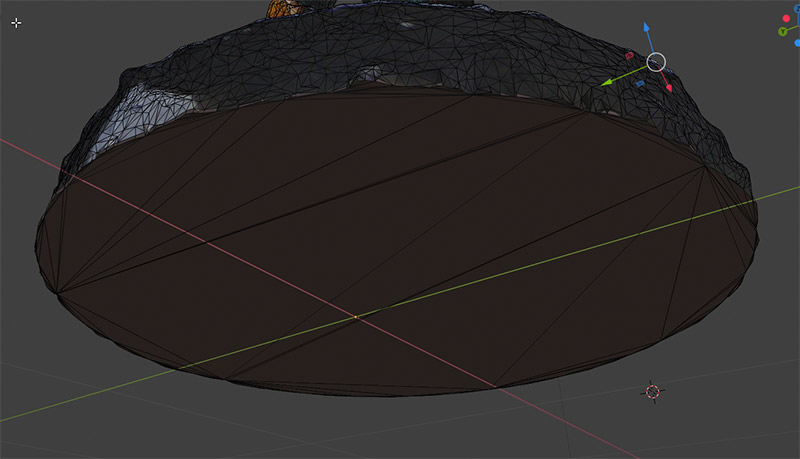
3d. With the border edges still selected go to Face > Fill. This will fill out the hole at the underside of the mesh. It should look like this now. You can now directly go to part II.IV to export your modified model.
II.IIIb Optimize the base for the Infinity mod
This part describes the necessary steps to combine the model with the custom base mesh, which is required for the use in the Infinity mod. The custom base contains a separate front object, which can be tinted in different colors in the Tabletop Simulator.
3a. Import the custom base of the right size, in this case the s2_base_25mm.obj. It will appear at the origin of your blender scene. You can get them here.
3b. Switch to the top view and change the viewport display to wireframe mode in the upper right menu.
3c. Enter edit mode active face select mode, then go to Select > All to select all of your model.
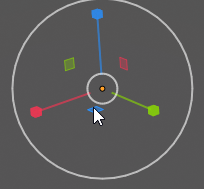
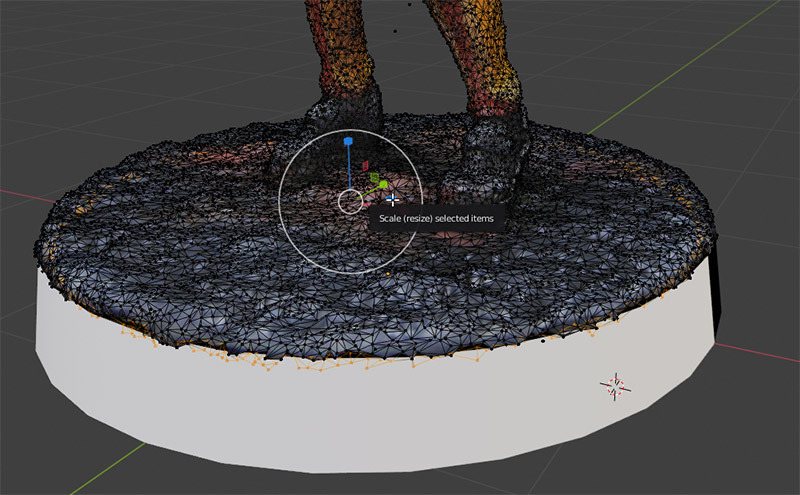
3d. Use the scale and move tool to match the size of the custom base. Your model should just stay inside the outer boundary of the custom base mesh. Take care that you scale proportionally in all three axis by using the white cirlce of the scale tool.
You can see the benefit of leaving all parts of the original base in place. We can use it as a visual guide to match both objects in size.
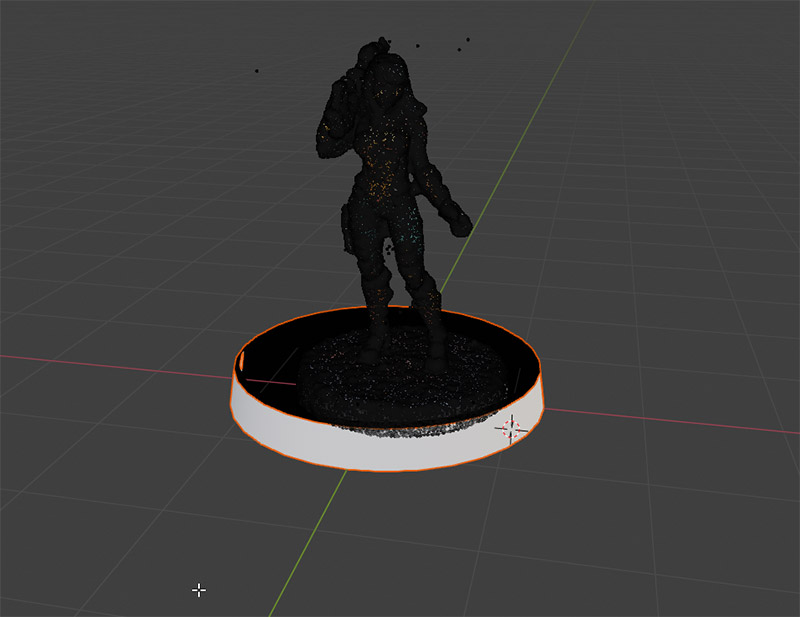
3e. Switch to a front view to move the model up, so that its base top sits right on top of the custom base top. Double check the postion in the perspective view. In the end, it should look like this:
3f. Ok, now switch to the front view and activate Vertex mode.
Make sure that Toggle X-Ray is active. Draw a rectangular selection to select a big portion of the original base.
Don’t select everything up to the top of the base, we need a few polygons to blend the two base objects visually.
3g. Delete the selected vertices.
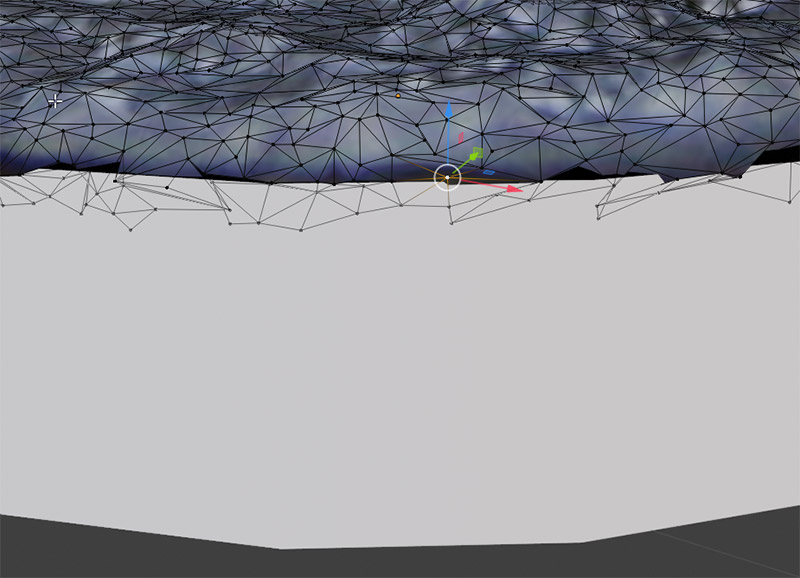
Now select the area straight up to the upper edge of the custom base, select the scale tool and scale the vertices inwards.
Scale proportionally in x and y by using the little blue square gizmo of the scale tool.
Now most of the pertruding mesh parts should be gone.
3h. To create an even border between the model and the custom base, select the problematic vertices and move them one by one, until you are satisfied with the result. This will take some time depending on your model and the result you are after.
3i. Ok, now we are done. Time to export it and to get into the Unity editor.
Make sure that you did not move your model during the process and that it is still located at the origin of the blender scene (0,0,0). If not, this will influence the rotation axis later in the Tabletop Simulator.
Once you checked that, your model is ready for export 🙂
II.IVa Export as fbx
Exporting as an obj from blender will merge all selected objects into one single mesh (unlike 3ds max, which preserves all objects). If you have only a single mesh to export, you do not have to worry about that. However, if you have several objects and want to keep them as seperate meshes, you will need to use another data exchange format.
This is exactly what we need for models that are intended for the Infinity Mod. To be able to color the front part of the base later in the Tabletop Simulator, it must remain a seperate object.
So, to make the process easy to follow i decided to recommend the fbx format for all cases.
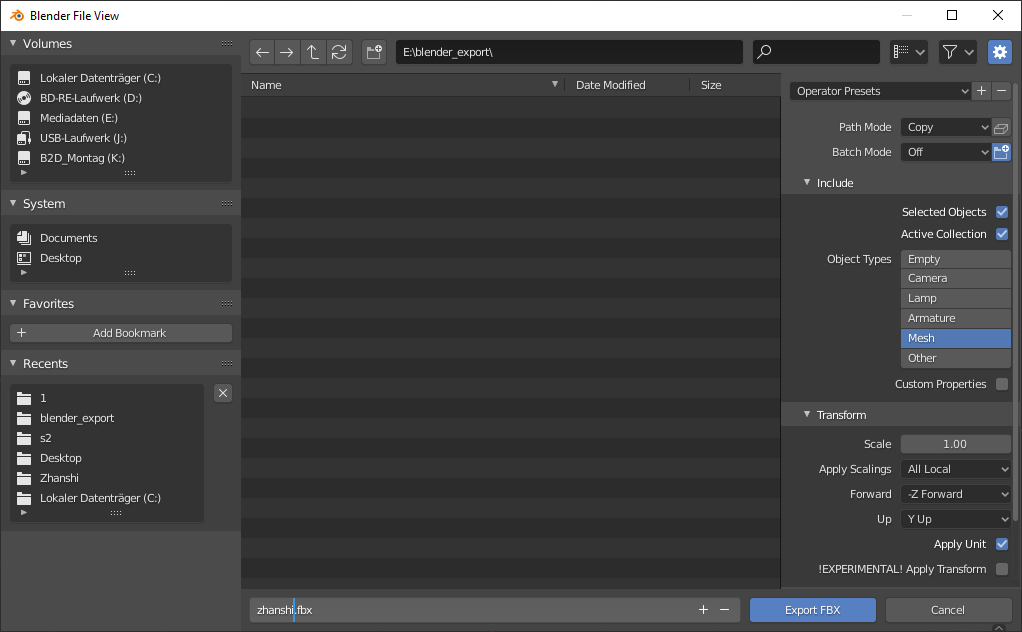
4a. Select the all objects that you want to export. Select File > Export > FBX In the export page set“ Path Mod“e to „Copy“. That will copy all texture files into a new folder. Deselect all entries in the „Object Types“ section except „Mesh“. Make sure the „Selected Objects“ option is activated.
Blender will create the fbx file and a folder containing the textures.
With this done, we are ready to proceed with the final part of the tutorial.