

In this third and last part of the tutorial I would like to show you how to do import your scanned object into the Unity Editor. Here we will finalize it and bring it into the Tabletop Simulator
There will be some special notes regarding the needed steps for contributing models to the Infinity mod.
In general, we will import the fbx file, bring it to the correct scale and add a custom collider object to it. After that, we turn the whole thing into a so-called prefab and export it as an assetbundle. Finally we will import this assetbundle into the Tabletop Simulator.
Ok, let’s go on.
Part III: Final touches in the Unity Editor and import into the Table Top Simulator
- III.I Import the object into Unity Editor
- III.II Scaling and custom collider
- III.III Export as assetbundle
- III.IV Import into TTS
III.I Import the object into Unity Editor
1a. Start the Unity Editor version 2019.f.23 (screenshots show 2019.1.0f2) and open the TTS Modding Master Project. In case you missed the link in the first part:
( https://kb.tabletopsimulator.com/custom-content/custom-assetbundle/#install-unity )
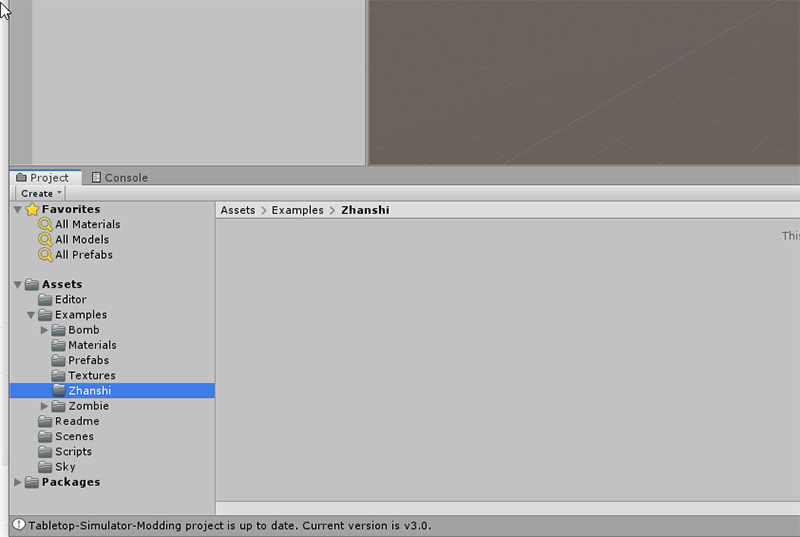
On the lower left you see the project area. Keep in mind, that the folders and files here are real files on your hard drive, not only entries in the project structure. So if you delete something in the project area, it will also be erased from your hard drive.

1b. To keep things clean and structured, create a new folder inside the assets folder. In my case i name it „Zhanshi“, so i know where the source files of my model are located afterwards.
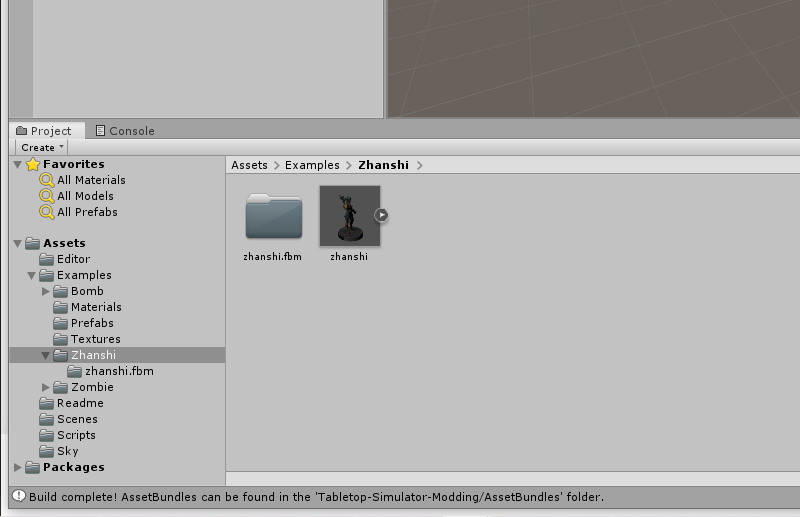
1c. Navigate to the folder containing your exported fbx file and the texture folder and drag both onto the folder to add it to the Unity project. It should be displayed like this.
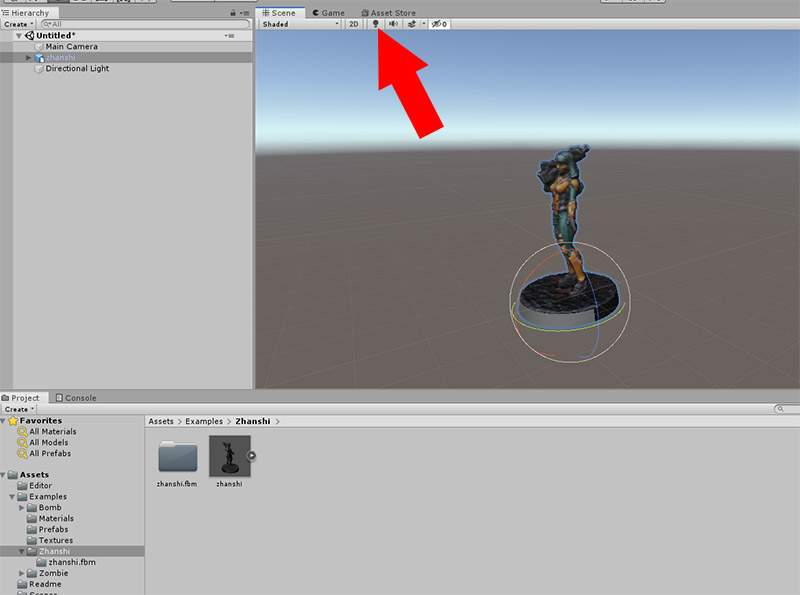
1d. Drag our model into the viewport.
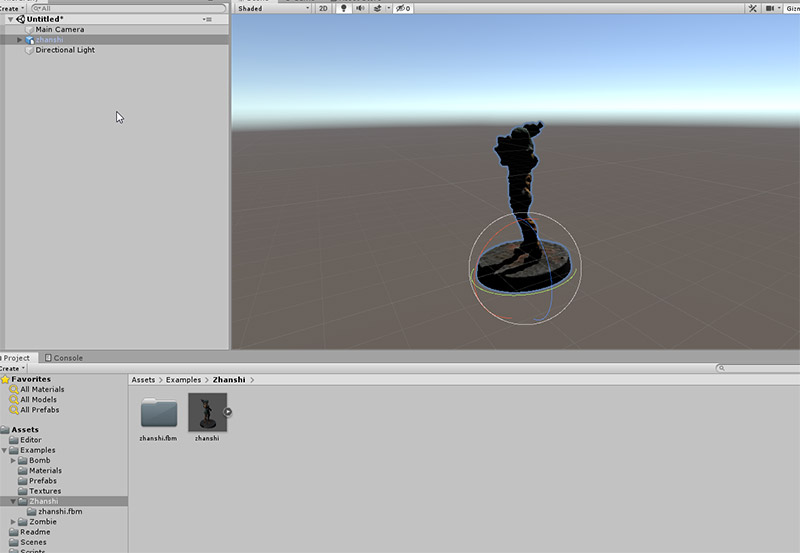
1e. Disable the scene lighting, to get a better representation of the model.
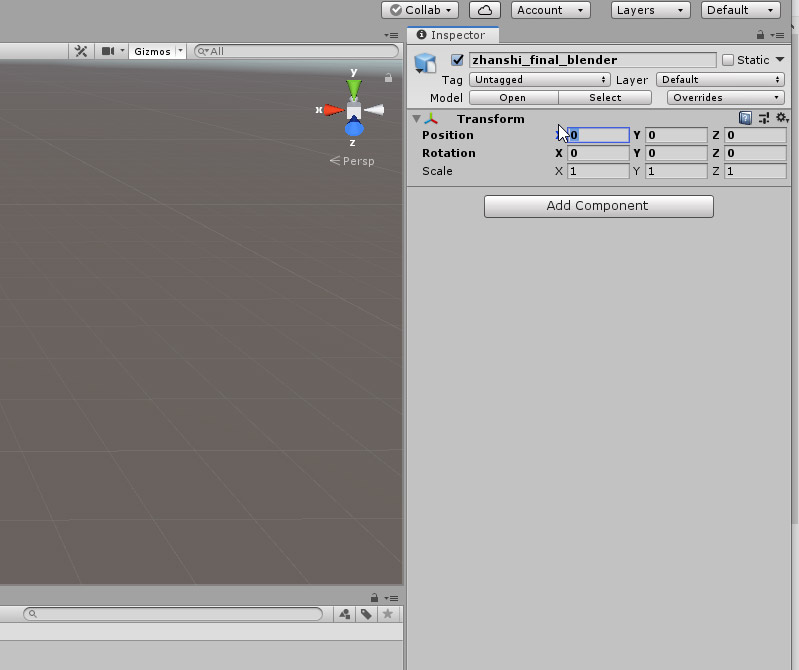
1f. Select the model and make sure that its y-position is set to 0 in the inspector to the right. This is to avoid a floating object later in TTS.
III.II Scaling and custom collider
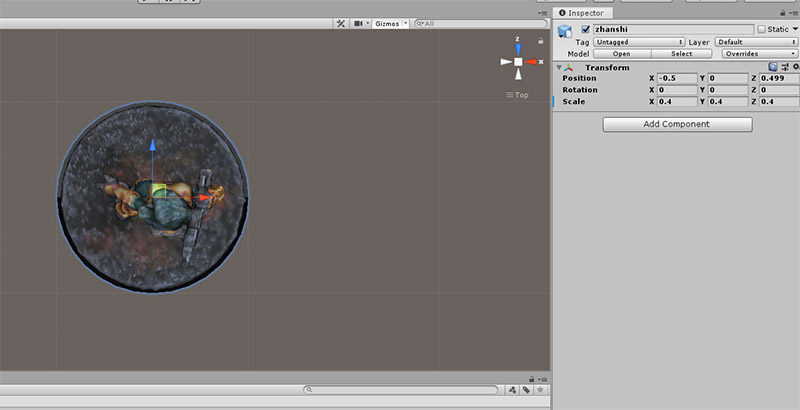
2a. Now we will bring the model to the right scale. Click on the green y-axis arrow in the upper right corner to switch to the top view. After that, click on the little cube in the middle to switch the view mode to orthogonal.
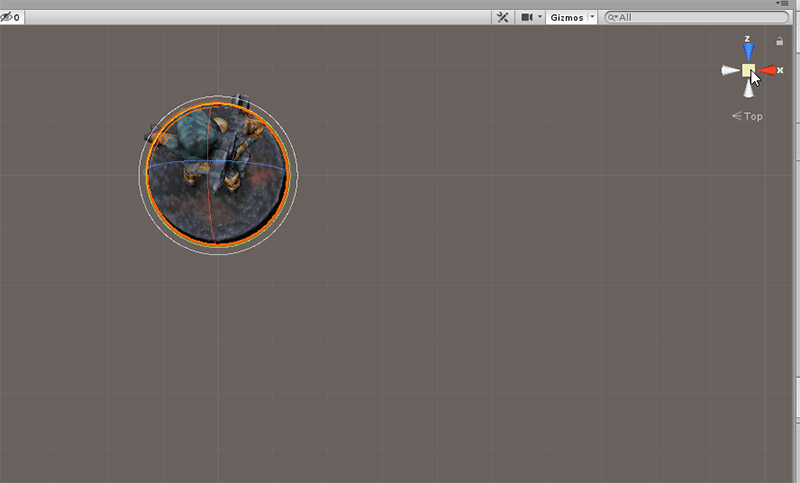
2b. Blender and Unity handle size units differently, so the model imported from blender appears too large in unity. But this is no problem for us. In contrast to pixel-based images, polygon objects can be resized to any size without any loss in quality.
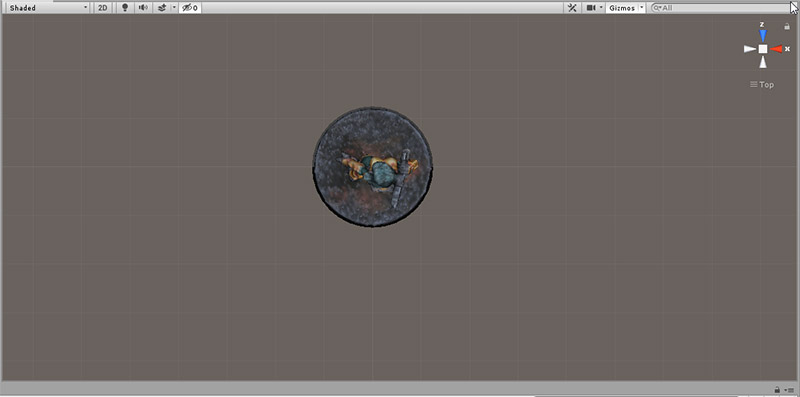
Select the model in the viewport and change the scale value in the inspector to 0.4 for all axes. By the way, this factor applies for all models you import from Blender. As long as they had the right scale in relation to each other in Blender, they will be allright in Unity as well.
You can double check the scale by aligning the model to the grid in the viewport. Each field in the grid has a size of 1 inch. Since TTS uses the Unity engine, our object will have the same size there.
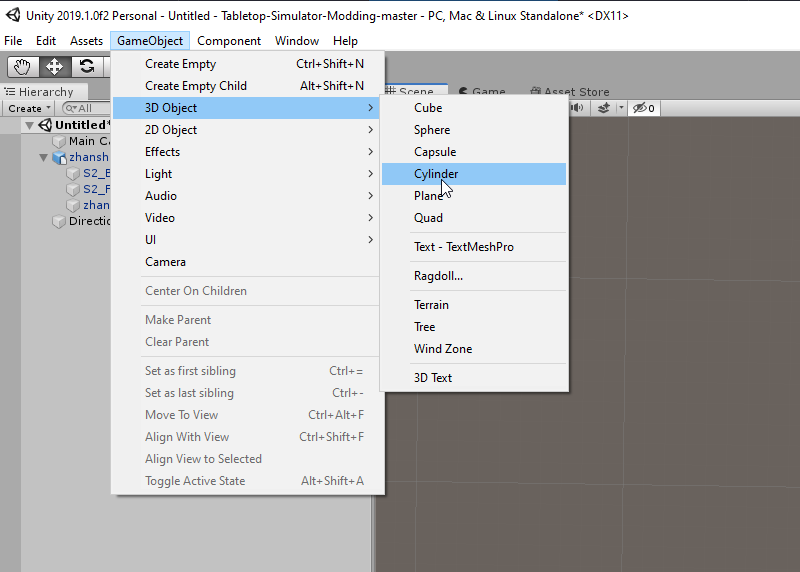
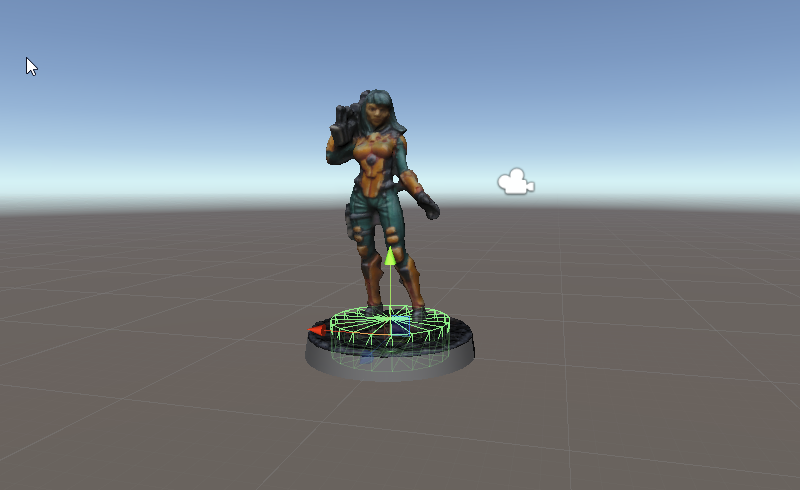
2c. Time for the collider mesh. A collider mesh is required, so that the user and the TTS game physics can interact with the object. Without a collider mesh you couldn’t grab the miniature later and it would simply fall through the game table.
We will start by creating a new GameObject that matches the shape of our base. In this case a cylinder would fit best. Go to GameObject > 3d Object > Cylinder
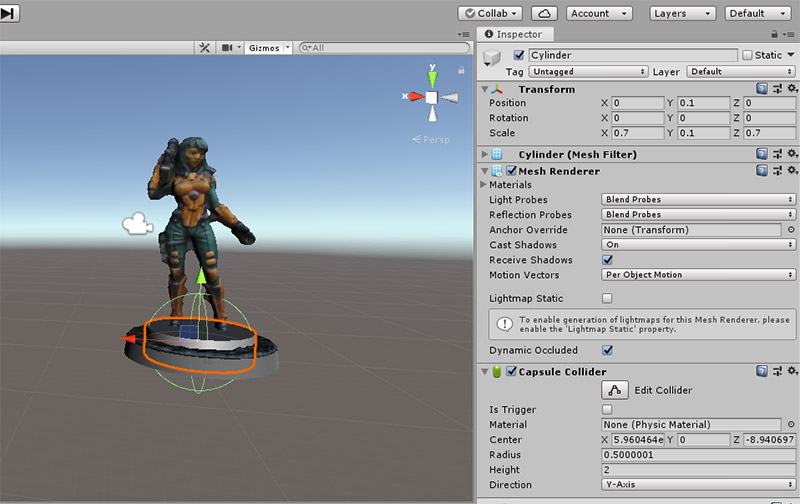
2d. A cylinder will appear in the viewport, with an diameter of 1 inch. The collider mesh should be the size of the model base, not bigger. For games like infinity, where you play with much scenery, a smaller collider is better. This way you can place the model close to the scenery without triggering a collision.
So in this case, set the X and Z scale to 0.7 and the Y scale to 0.1. Additionally change the Y Position to 0.1.
Now the collider has about 70% of the original base diameter and is slightly higher.
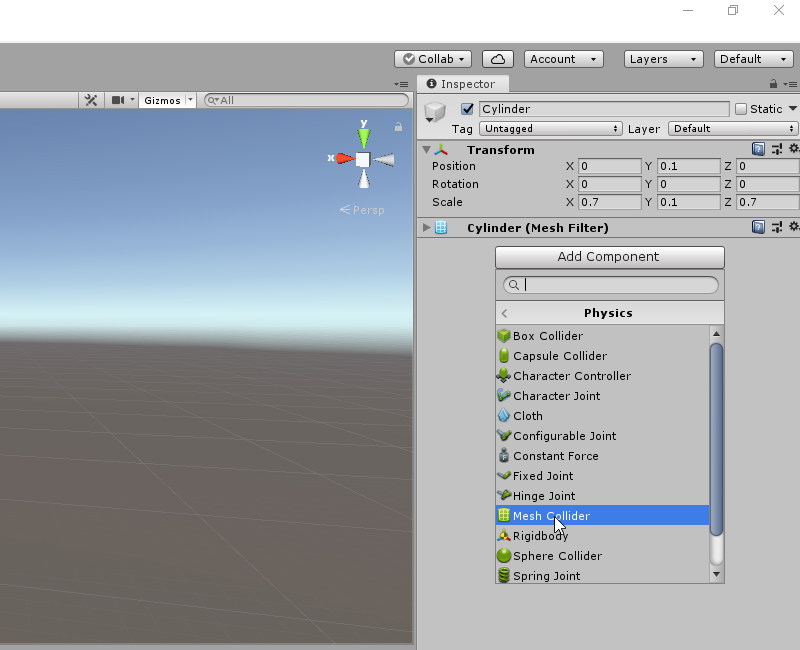
2e. To make it invisible, remove the mesh renderer and capsule collider components from the cylinder by right clicking on the entry in the Inspecctor. Choose Remove Component.
Add a mesh collider component by pressing Add Component > Physics > mesh collider. Change the name to „Collider mesh 25mm“
2f. The next step is to link the collider to our model.
Right click on your model entry in the Hierarchy pane to the left and choose „Unpack prefab“, then open its content by clicking on the arrow in front of it.
Drag the newly created collider mesh into this container.
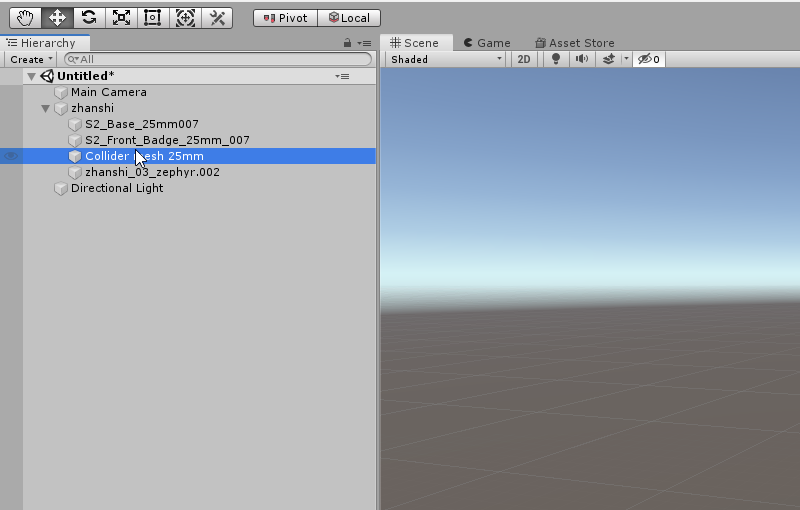
It is now linked to the model.
2g. If your model is meant for the Infinity mod, we need to change the item order inside the model container. Only the topmost object can be tinted later on in Tabletop Simulator.
So drag the S2_Front_Badge item to the first positon.

Ok almost done!
III.III Export as assetbundle
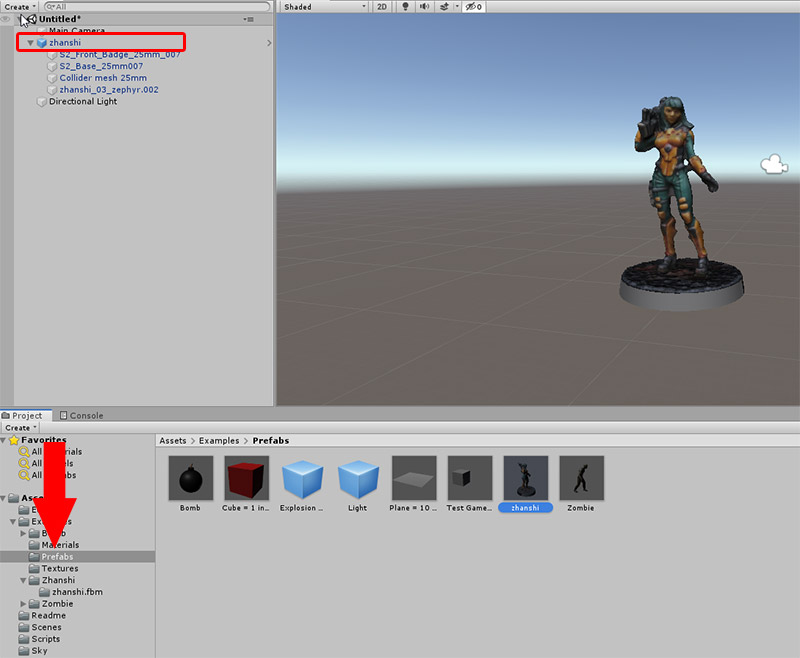
3a. Now drag the whole container into the prefab folder. You will notice that the container is now colored in blue again.This marks it as an prefab. Only prefabs can be saved as an assetbundle.
Note that your model, unlike in blender, does not have to be at the scene’s origin at the time you export it. As long as the collider mesh is at 0,0,0 relative to your model, the exported model will behave correctly.
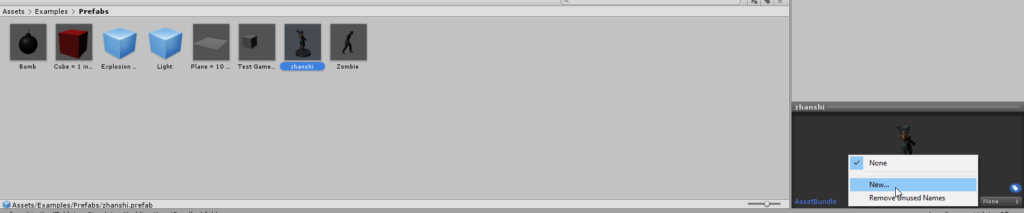
2i. Select your model in the prefabs folder. In the lower right corner, you can attach this prefab to an assetbundle.
Choose „New“ and type in a name for the assetbundle.
There was a bug in the earlier version of Unity that made it impossible to enter anything at the first time. If you encounter that, deselect your prefab, select it again and try to enter the name of the assetbundle again. It should work now .
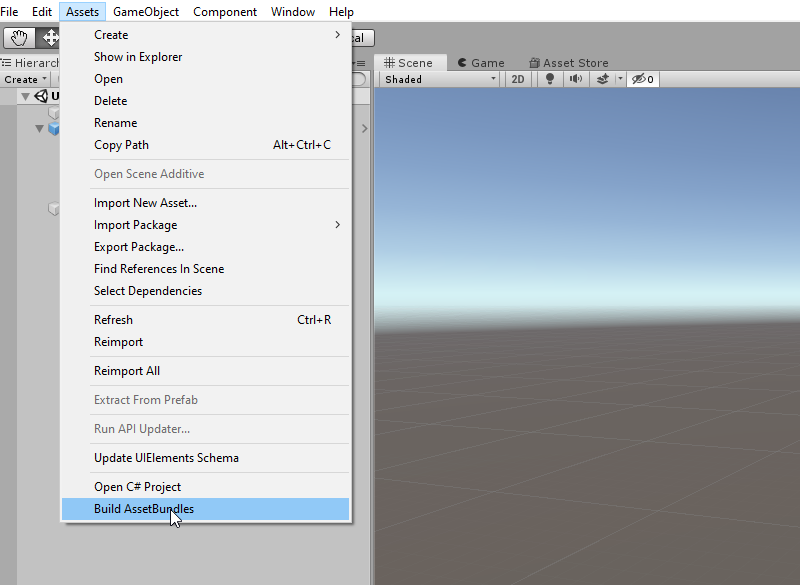
2j. Now go to Assets > Build assetBundles in the main tool bar. All assetbundles will be rebuilt and put into the assetbundle folder of your Unity project. Now we can take our model to the Tabletop Simulator
III.IV Import into TTS
4a. Launch the Tabletop Simulator.
Load a game of your choice. I chose the sandbox here.
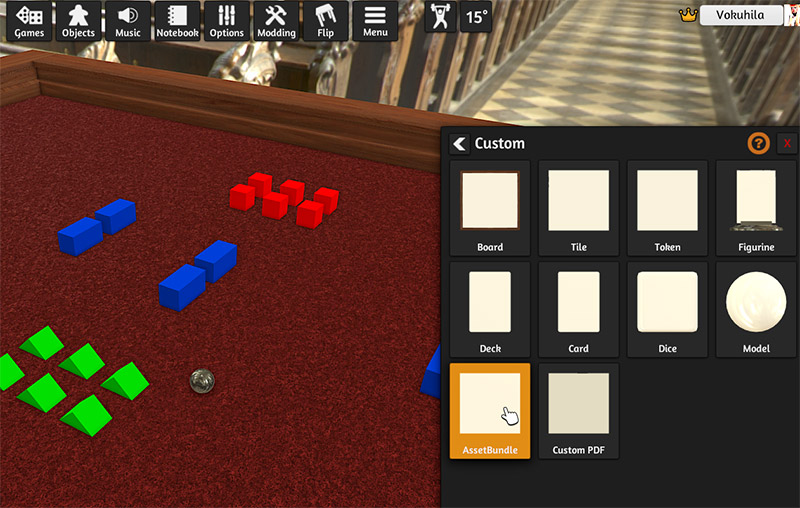
Go to Objects > Components > Custom > Assetbundle.
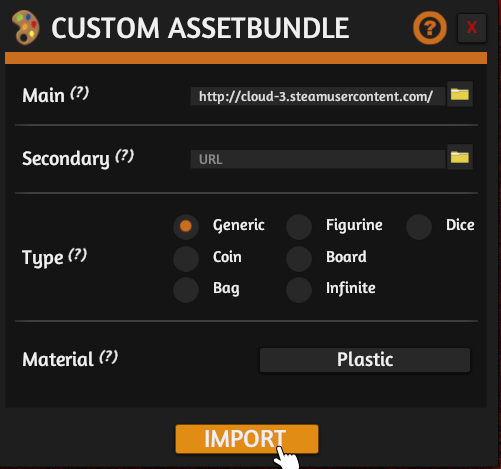
Choose your assetbundle and upload it to the cloud.
After the uploading has finished press „Import“ to load it into the game.
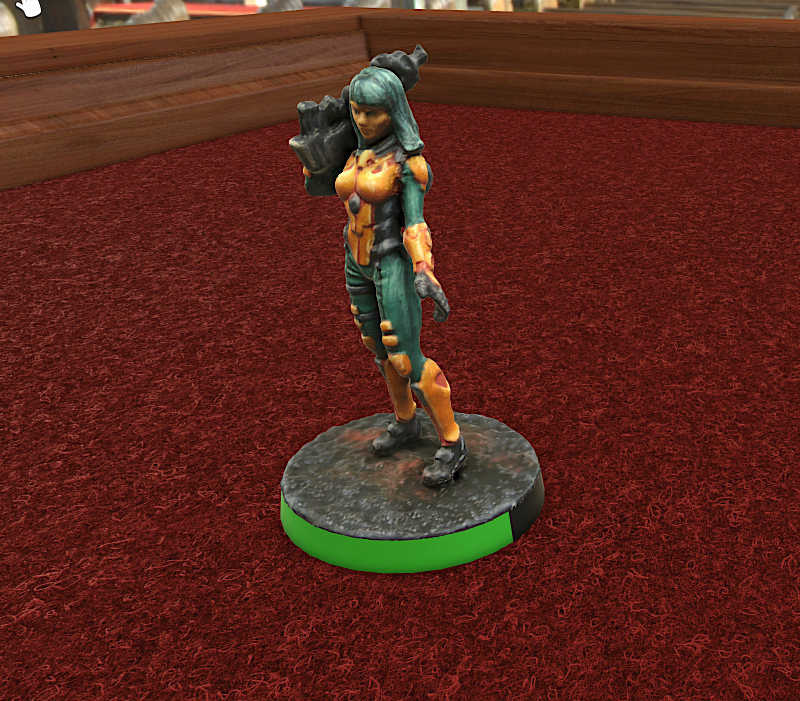
4b. Our object will appear. Turn it around to check if the pivot is at the right position. It should turn around its center axis.
If not, you should check it in Unity or Blender since it got misplaced at some point during the process.
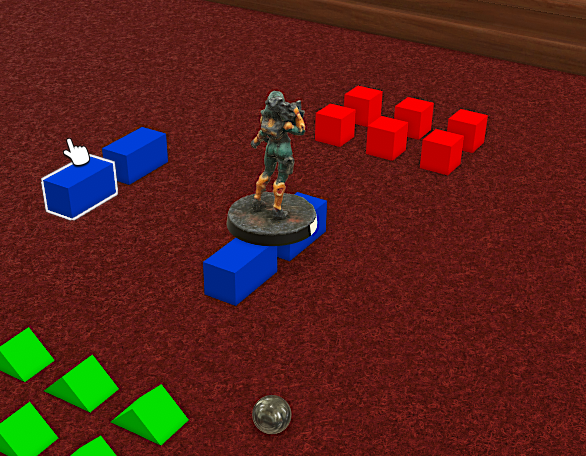
If you created your model with the infinity mod custom base, you can check if everything works fine with it. As you can see here, the tint effect is only applied on the front base part. So this model is ready for the battle.
Ok, you’re done! Thanks for reading all of this.
Feel free to leave a comment and good luck with your scanning 🙂
Not sure if you can help, but I am having in issue with Unity, where my program does not seem to have the menu option of Assets > Build assetBundles in the main tool bar. It just isn’t there, I have the ver. you listed in the guide, it just isn’t there. Did I set up something wrong, any help you could provide would be great
Sorry, i do not know what went wrong on your side. I just checked it, the button is there, last option in the assets menu. Make sure to use version 2019.4.23f1 or check if Tabletop Simulator supports newer versions now, i did not use it for a while now. I hope you get it to work.